I am just going to show you the pinwheel not the card - you can see a card I did here.
Sorry I do not have the ability of doing a video.. someday I'll get with it. (OMG do people say that any more)
So here are the directions and measurement.

Cut two of the same color of solid cs pieces at 2 5/8" x 2 5/8"
Cut 4 (or used a 1 1/4" punch) squares in coordinated cs pieces
Cut 4 1 1/4" x 1/4" (or use a punch) in a printed paper.
My cs and pattern paper is from SU.
Ok - lets put these together.
Glue one 2 5/8" square to the other to create a 8 pointed "star"

Glue one pattern cs 1 1/4" square to one of the points (only put a little - you'll see why when we glue on the last square.

Glue the solid 1 1/4" square to the next point - you can see the pinwheel happening

Continue to glue the rest (but leave the last one for a sec
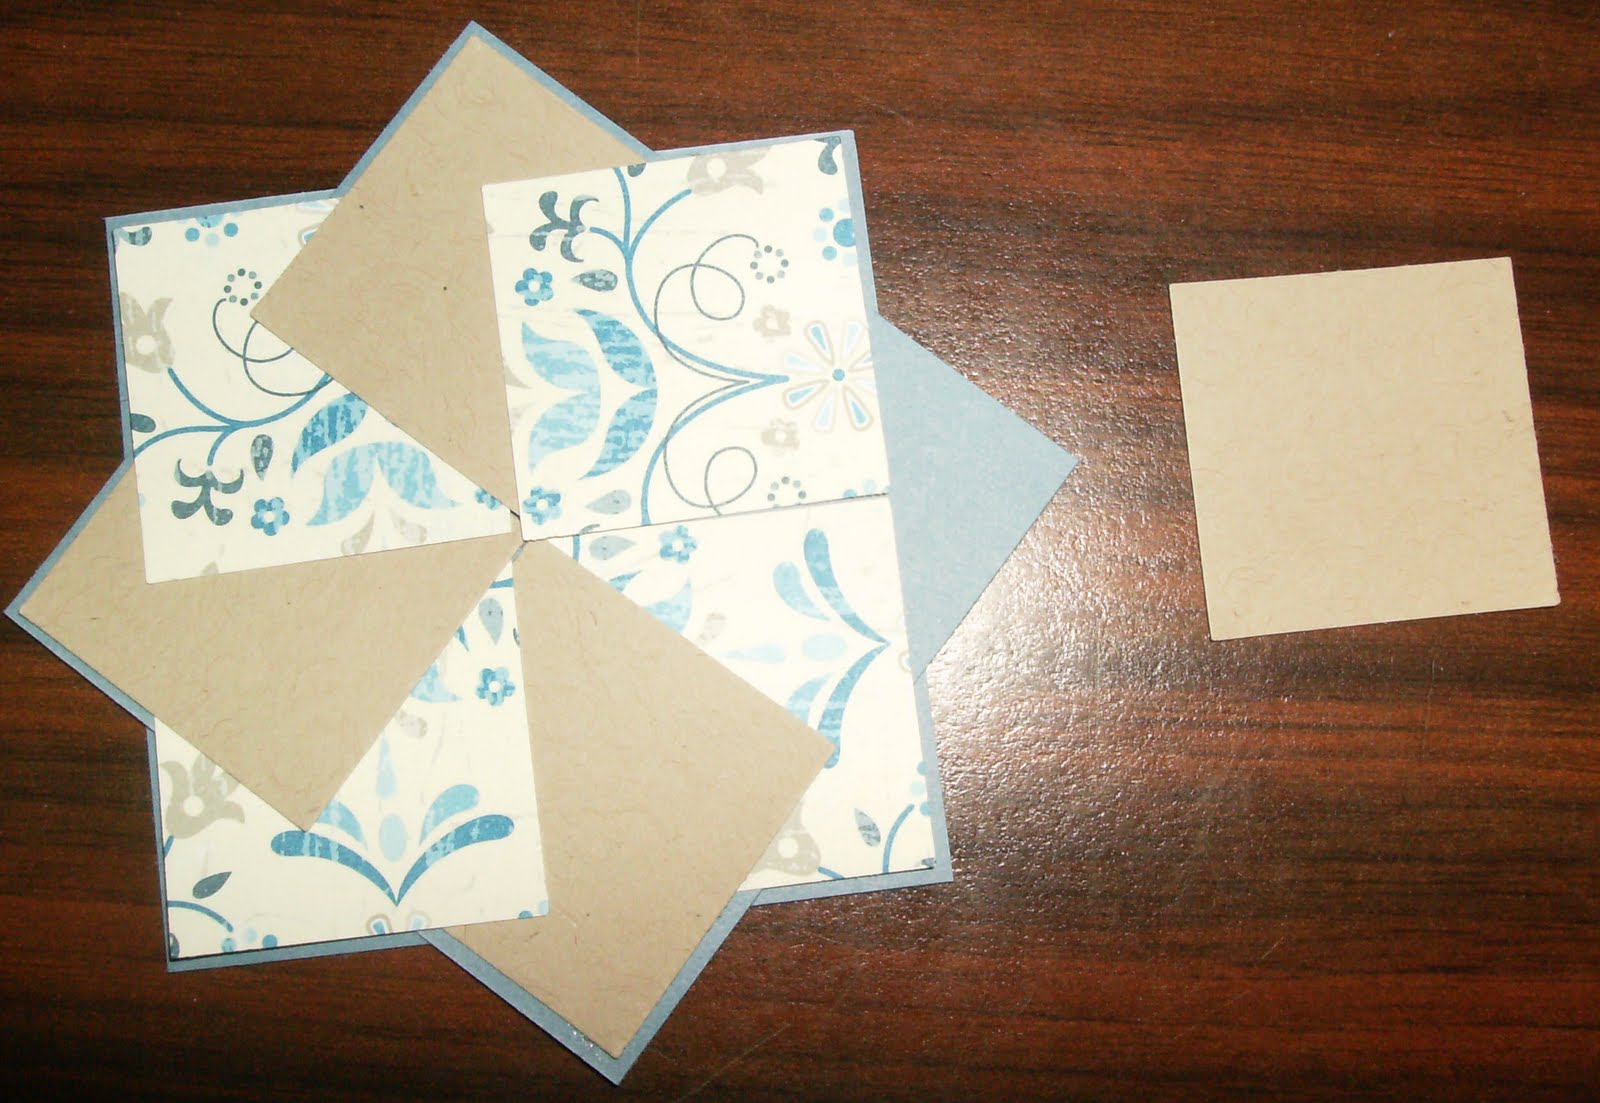
Now put glue on the last squared and tuck it under the first one you put down.

Here is the finish item - I glued a silver pearl to the middle

Sheryl, that really looks very pretty!
ReplyDeleteSheryl,
ReplyDeleteI love this. Thanks so much for sharing how ya did it.
Hugs
Stacy
This is so cool. I was wondering how you did it. Thanks for sharing!
ReplyDeleteThis is so cool. I was wondering how you did it. Thanks for sharing!
ReplyDeleteThank you for posting the instructions! I absolutely love this one!
ReplyDeleteSandy
Friend of Scrapping the Magic
I bookmarked this when I saw it in November, and just had a chance to try it today. Your directions are very clear and easy to follow. I posted my card on my blog. Thank you for creating and sharing the tutorial!
ReplyDelete