Sunday, June 19, 2011

H is for hello


With a little creativity I was able to create this card to enter in a few challenges this week. It's been a long time since I had some me time and I am also working on a mini album which I hope to be done this week.
In the mean time - some card creation in the midst of cleaning my craft room was a nice break for me.
Here this card was used with the sketch from Priscillasstyles. Each square was cut at 1 1/4" in case you would like to give the sketch a try.
I followed along with the color challenge of red at Scrappy Frog Challenge blog as well as the twine/ribbon requirement at Crazy 4 Challenges. What really got me to start my card was the summer themes as Anything Goes and For Fun Challenge. The embossing is done with a Spellbinders embossing metal die. My first try and I had to find the correct sandwich to use to get the right impression. I ran my "dune" color cat eye over it. The rest of the card elements follow The Pink Elephant of 3 pattern paper (from Stampin' Up) 2 buttons (from my stash) 1 punch (the letter H from a Provo Craft die and ribbon/twine from The Twinery.

Hobby Lobby Coupon

Saturday, June 18, 2011

Assembly Thank you cards


After the wonderful gifts my boys received for their graduation and birthday - I needed to be able to get these cards created for them to add a thought or two inside and get them in the mail!

I think it's important that young children write thank you cards in appreciation but that is my personal choice as a parent.

So last night I set out to create these.
I used an embossing folder from Stampin' Up called Square lattice and embossed the ivory blank note cards. To match their invitations, I sent out originally, I used the same purple card stock and Martha Stewart border punch to keep it all relative.

Glued them down to the base card - whew two steps done. (Look out carpel tunnel!)
Next step 3 and 4 was to stamp the Thank You sentiment and punch it out with the fancy label punch both from Stampin Up. Lastly - adhere the sentiment on the border so the point hits between the scallop on the border as seen above. 5 steps and 16 cards done in a little over an hour. Simple but elegant and effective! I have 5 more to create - but I am going to individualize those differently for a few folks.

Graduation Cards


As mentioned my twin boys graduated from High School and I planned their party last Saturday. Glad it went well and it's over. Now back to crafting and reading blogs!!!!

Here are the cards I made for them. There are multiple layers to allow us for writing on the inside.

I cut the card from Cricut cartridge Locker talk at 5". To add the cap to the top - you have to actually measue the inner cut which was about 2 1/4" and then cut a cap alone to fit on top.

Since they wore black cap and gowns (the girls i ntheir class wore purple) and their school colors were purple gold and black - I alternated the purple and black to try and make each one a little unique.

The stamp sentiment is one I think I got from the dollar wooden stamp bin at M's... I used embossing glod glitter powder and raise it on foam squares.
Entered this card at Sentimental Sundays - masculine card

Thursday, June 16, 2011

CRAFT challenge 107 and OWH sketch

This week as I continue my guest design team spot at CRAFT challenge blog - I got the help of great sketch at OWH S&S. (see below)

I embossed the purple accent layer with the hearts Cuttlebug embossing folder. Hand sewn a running stitch to the orange accent piece. Added gems to the wonderful image from sponsor Aifactory who is this weeks sponsor at CRAFT challenge blog.

The sentiment is a tiny stamp from Studio G. I mailed this to my daughter who is in college to wish her well and love as she progresses through her summer semester.

Thursday, June 9, 2011

CRAFT guest designer for Challenge 106

Hello as guest designer at CRAFT challenge blog for the month of June - I have created this card using the digi from Some Odd Girl. The prize they offer is 3 images of choice from their store so go check out CRAFT challenge and enter a father's day card.


The balloon was fun to color and I created a different color variety (you'll see another card later this week). I mounted it on foam squares and on vintage music sheets I picked up at an antique store this weekend. I inked all the edges with my dark brown Color Box ink.
(Too bad you can't see it - LOL)

Sunday, June 5, 2011

Welcome to my new Followers

Hello to you all!
I have been extremely busy as my twins graduated from HS this week and I am trying to get the favors and food ready for their graduation party this coming Saturday.

But I wanted to take some time to send a note to all and to those I follow - that I'll be hopping to your blogs to comment after the event is over.

To my new followers, I post projects I am creating, challenges I am entering and weekly coupons.
I've been crafting since a young child and have done anything from sewing, cross stitching, paper crafts, fabric albums, scrapbooking, and card making... I love to try new things and enjoy showing you as well.

I am a direction oriented person, so you will see paper tutorial for printing as well as video's.
Enjoy and comment so I may come to you. That's the best way due to the way blogger is set up.

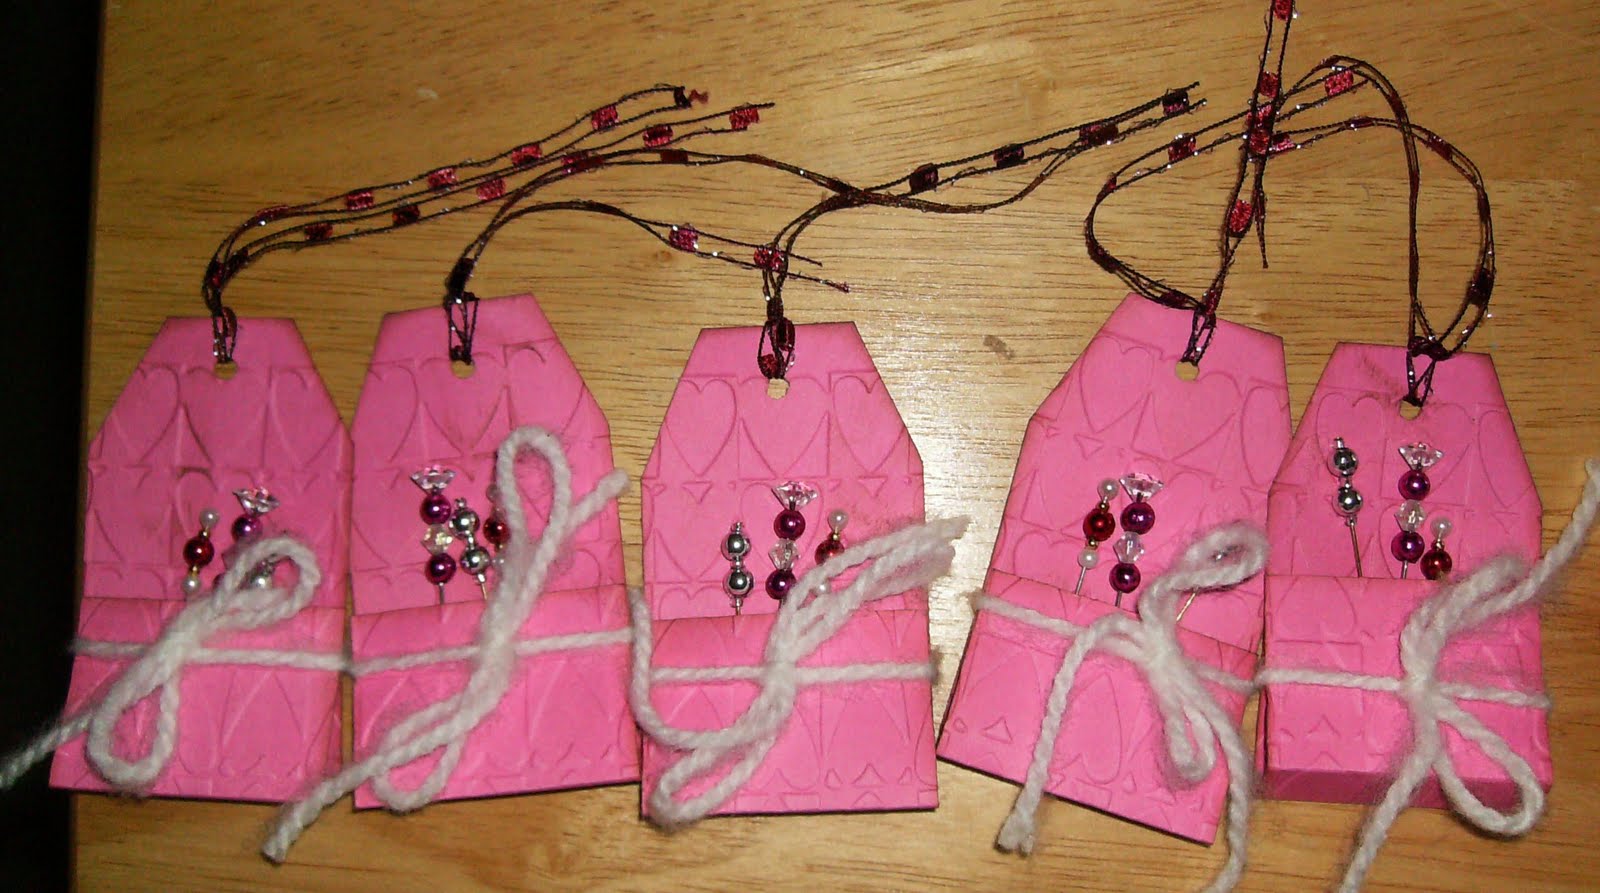
More Pin Swap shipped


Since people seem to miss out and couldn't ship pins for our stick pin swap - I stepped up and took an angel spot in the Valentine category. So I whipped these up Saturday morning and shipped them off to the hostess.

Saturday, June 4, 2011

Joann Coupon


This was from an email I get from Martha Stewart!
Surprise to see this coupon at JoAnn

Enjoy!

Thursday, June 2, 2011

CRAFT guest designer for Challenge 105

I was asked to be a guest designer for June at C.R.A.F.T
For Challenge 105 we were provided a digi by the Digi Doodle Shop who is the sponsor of this weeks challenge!
I chose the water spout as I love the vintage and oldness of it.
I colored the image with chalk and colored pencils, mounted it on Provo Craft pattern paper and used mesh tape as a layer as well. Found some old brown tone buttons and added them to the corner. (click the pic for a better view)