Sunday, January 30, 2011

Fibers for Followers Winners

Yes - you read correctly - I am giving away - two batches of fibers. The Winners are
Entries 3 and 4 according to Random Org

So that would be Maureen and Audrey. - Could you please email me your home address so I may send them out to you? My email is luv2scrap44 @ yahoo . com (remove spaces of course)

Awesome, I'm a follower and would love to win these pretty fibers. Shari (cricutrookie)

January 29, 2011 3:04 PM

Delete
Blogger Maureen Reiss said...

Really gorgeous fibers!! Thanks for the chance to win

January 29, 2011 3:07 PM

Delete
Blogger Audrey Frelx said...

Wow, Sheryl, those fibers look yummy!!! Someone is going to be very happy to receive those! Maybe me, heee-heee!

January 29, 2011 3:54 PM

AC Moore coupon

Hobby Lobby Coupon

Saturday, January 29, 2011

A Key to a whisper


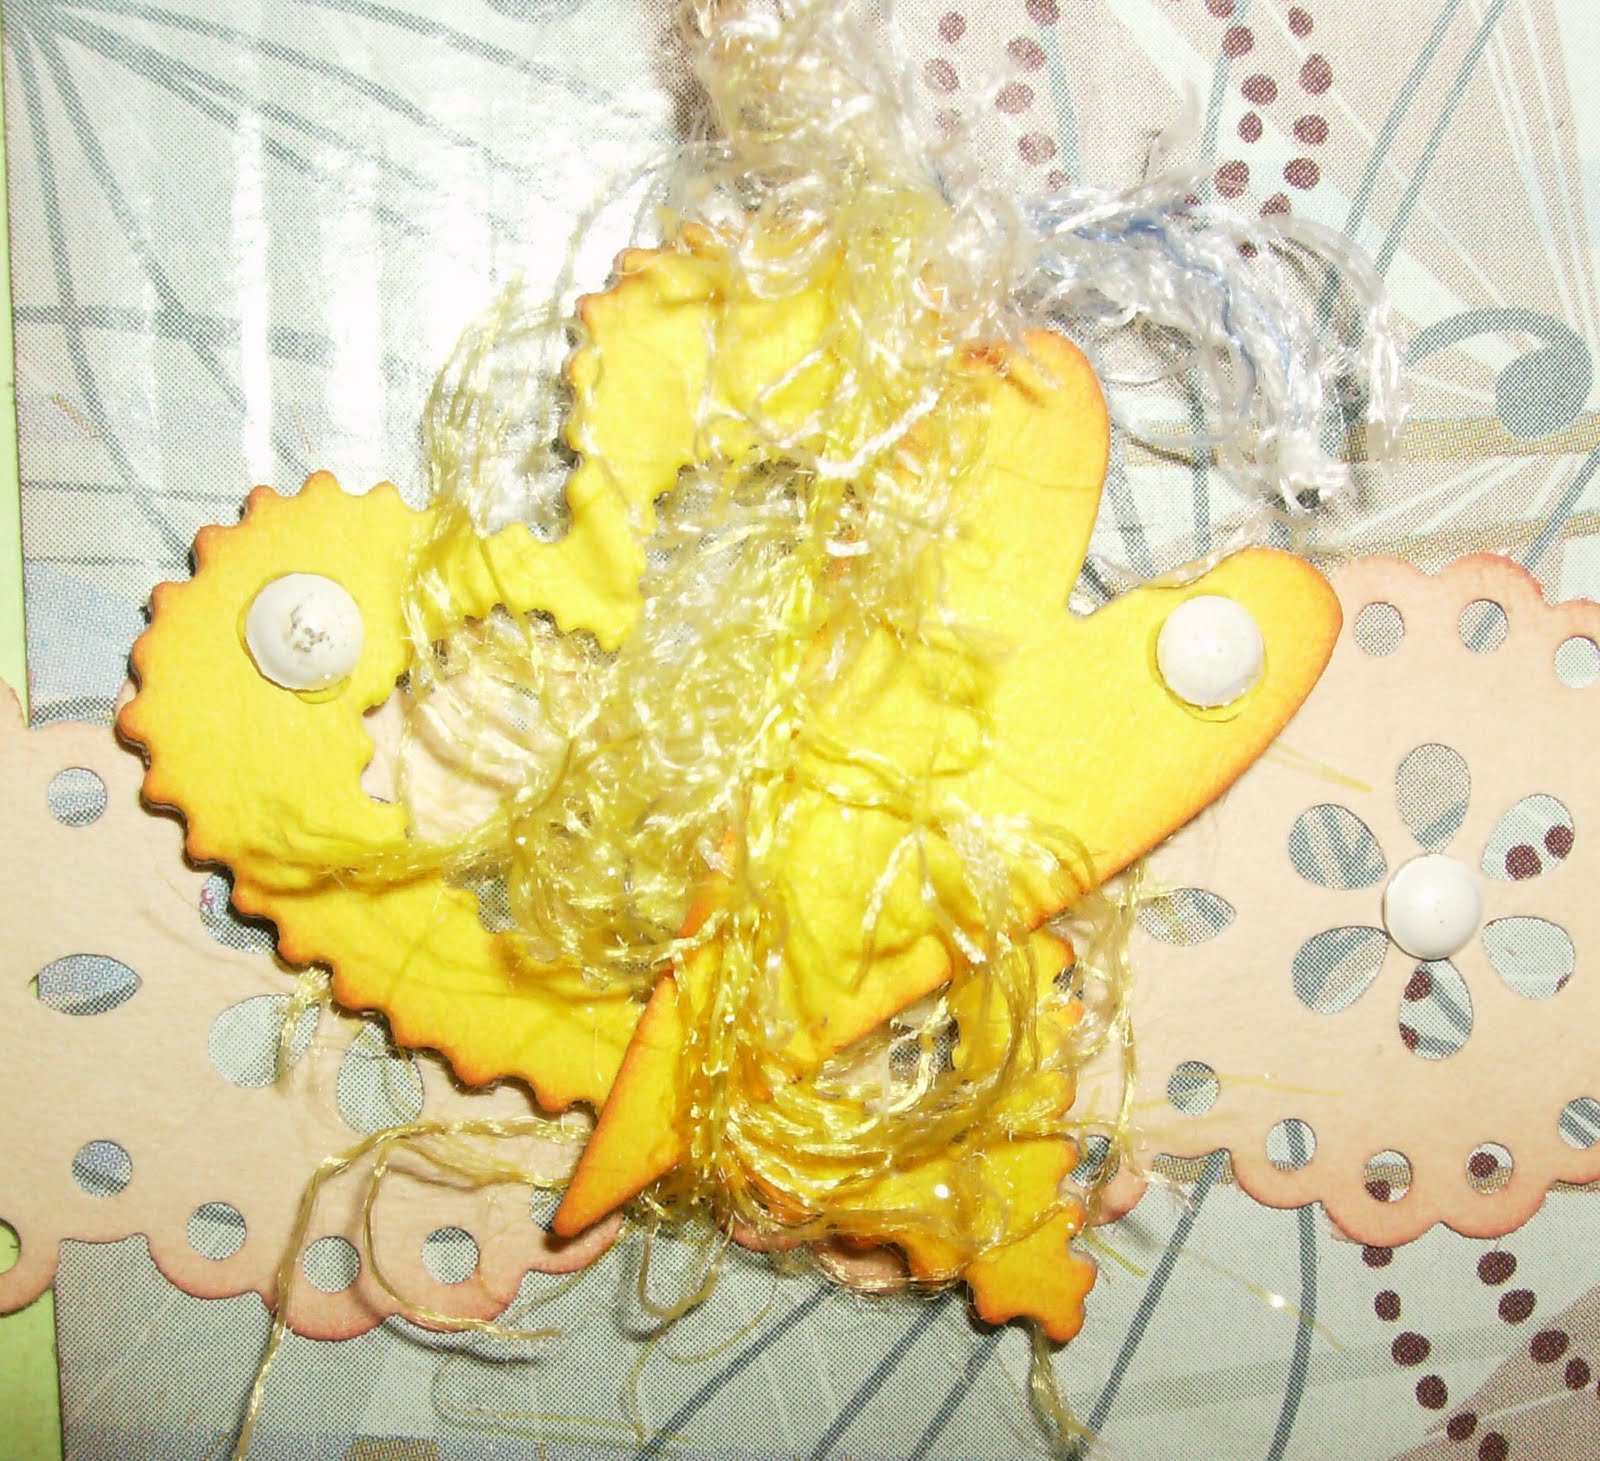
You know when you have a vision... and then your card turns out nothing like that! I think because I started with the green cs for a base. Anyway here are the elements on the card.
The paper chipboard is actually the side of a tissue box and I love the colors. (I ran it through the crimper).
The butterfly is a Martha Stewart punch that I inked and added some i*rock bling. I attached a tiny chipboard key on wire and hung it from the butterfly wing.
The hearts and key are a old Provo Craft metal die that I forgot I had. It cut the card stock as well as the chipboard beautifully!!.
The fibers are from a local store in the next town over (which is also in my give-a-way) and the border is a punch from Martha Stewart that I inked as well.

I am entering this card in the following challenges
Colour Create #63 - lemon, green and white
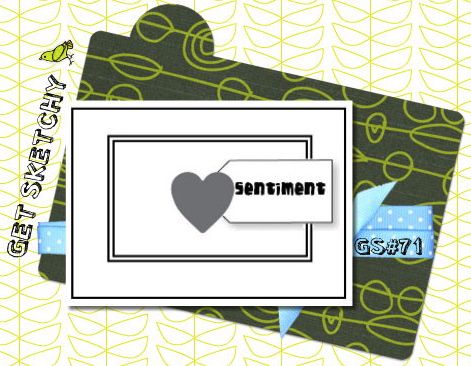
Cute Card Thursday #149 for the layout


Try it On Tuesday - to Alter it with wings - butterfly with key and ink
All Sorts week 88 - saving nature - so I recycle the tissue box cardboard
Crazy 4 Challenge - vintage or shabby chic
Kaboodle Doodle - bling it up -

Fibers for Followers


Blog Candy ! Winners have been drawn on Sunday!

I hope to get a few things accomplished today and one is to give away some lovely fibers for your crafting pleasure.

Since I bought some fibers a week or so - I wanted to share them with a follower of my blog.

So - if you are a follower and would like to win these please leave a comment.
I'll draw the name probably Sunday night or Monday.
Each fibers card has 6 feet in length - plenty to add to cards, scrapbook layouts, banners etc!

Hope you like the sampling! You will get all 5 samplings.

Monday, January 24, 2011

Chilly!


So we knew this was coming - but I still can't believe it.
Funny to see the "sun" and -1 degrees in the same shot.

Sunday, January 23, 2011

Father's Day thoughts


As I am finishing up a group of cards that I was requested to make, I used the color theme at Sentimental Sundays and the layout from Stars & Stamps

Keeping the masculine theme I used the embossing folder from CB the sentiment is from Stampendous I believe and I used the notebook punch from SU!


Build A Bear Coupon

Ok - so I know this is not paper crafting - but I am a lover of bears and wanted to pass along this coupon....

Saturday, January 22, 2011

Sweet Ella


I bought this stamp set before the holidays and finally got to cut it out and use it! Isn't she adorable - my coloring does not do her justice but I am entering her in the color challenge at Claudia & Company (of where I bought the stamp set from). The color challenge was red, green and yellow. I am sending this to my daughter on Monday.

I am also entering this in - more than one fold at One Stop Craft Challenge
I used a new CB folder I got for Christmas from my son (he picked it out all himself and it was one I did not have!!!). The flowers are from Oriental Trading and the butterfly border punch is from Martha Stewart.

And I have to show you what my cat Bella did (which he never does) when I was coloring the image. he jumped up and slept on my paper.... I immediately realized I did not put food in his bowl - even though there was some in there... he likes to see me put it in...

Enter to win......


Tim Holtz and Ranger paper pack ... hmmmm so nice - They are giving away 40 packs!
Enter here to win a new, unreleased Core'dinations assorted pack.
Good luck

Stars thoughts of you


I created this card for a young man going into the service - I tried not to make it to frilly and I should have probably used different fibers... but perhaps it'll be a little warmth to the touch.

The embossing is a CB Stars folder as well as the sentiment.
The inside is a Martha Stewart border punch.
Entering this in the Anything Goes eyelet challenge

Swiss Dots and Hearts


Here is a Valentines card (entered in Tuesday Throwdown) that I created using the sketch from Sunday Sketch & Stamp. The sentiment is from Stampendous I believe (I thew the outer wrapper away) The hearts and border punches are from Martha Stewart.

Ran the base white cs through the Swiss Dots Cuttlebug folder.

A tweety Valentine


I love this stamp from Stampendous!!! Too cute. I've had it for a couple years I think.
I paired it with a Studio G dollar stamp {2-14}
Made for a cute quick card!
I followed the sketch at Get Sketchy #71
Followed the recipe at Crafty Creations bird, polka dots and green and at Charisma Cardz had to be a special number (14) and at Tuesday Throwdown #32 - Valentines

Birds and Swirls Mother's Day card


Here is another card that I was requested to make - so I used the layout from Crazy 4 Challenges and the recipe idea from Raise The Bar #50
This will also be entered in the Stars and Stamp blog challenge unused item and Crafty Catz forgotten stamp..
The Image is from Inkadinkado which I have had for so long and can't remember if I ever used it! The pattern paper is from Provo Craft the rhinestones are from Michael's. I cut out the fabulous scallop circle from Spellbinders.

Mother's Day Lantern


I was asked to make some cards for a friend of mine so that she can give them as a gift to a young man going off to the service. So the next series of cards I'll be creating today are those that I have been asked to do.
I saw this how to on Flowerbug's Inkspot and just had to make the Japanese Lantern.

Rather simple procedure - Cut a 3" circle with my Coluzzle. Stamps the flower image from SU, added some glitter pen highlights. Inked the edges and ran it through the crimper to give it the paper folded effect of a real lantern. Cut two strips of gold glitter cs at 1 1/4" x 1/2". Raised it on foam squared on the red base card with a layer of black CS. I used a MS border punch on the bottom and the inside of the card.

I'll be entering this card in the following challenges
Paper Cutz #75 any theme and colors
Cute Card Thursday - was 1 2 3 - so I used one gold threading, two stamp images and three pearls
And I used the layout from Clean & Simple

Yankee Candle Coupon

Tuesday, January 18, 2011

Car chat


I found these pictures from 2000 and just had to make a LO
I used the layout from Sketchy Thursdays
The base paper is from BasicGrey
The coordinating pattern paper is from SU
The jewels are from Darice
The label die is from Spellbinders which I cut and then embossed
The title is cut from Cricut cart Cheerful Seasons cut at 1"

Monday, January 17, 2011

note pad step by step using the Cinch

As mentioned below I got this idea from greenbean's crafterole.
Step one: Gather some old gift cards (they make sturdy covers) punch holes in them with a Crop-a-Dial or a binding machine - I used my new Cinch and punched 6 holes in the cards.

Step Two: Punch card stock or in my case I had a draw full of note cards - which I cut down to 3 3/8" x 2 1/8" and punched 6 corresponding holes.

Step three: Clipped 6 O-wires - I used 3/4" wires (hint leave the little hanging piece on the end to attach it to the machine)

Step Four: Put on the paper as you want to use it - meaning if you want lines or are using decorative paper and you want that to be facing you when you open your little note pad - put that on the O-wires first!
Then put the cover on as you would see it in your purse.
Then lastly - very important put the back cover on - but back wards.
Step Five: If you using the Cinch - back up the O-wires so that the opening is flush with the back. Keeping your hand on the wires, take the free hand and lower the handle and stoop down and watch as the loops touch the closed area.
Step Six: Clip the little over hang wire and flip the back cover over and you have a completed note pad!

gift card repurpose


I loved this idea from greenbean's crafterole
Take some gift cards you have used up (or grab them from your favorite store as I did yesterday)

use your binding machine to punch some holes in the side with my Cinch) (My 1st project!)
cut card stock or use index cards
bind and toss in your purse

See my next posting for step by step. One day I'll make a video - I got a Flip for Christmas and experimented with it last night :)